Wednesday, October 15, 2014

Girl meets kitchen

Hey everyone! Over the last month I've transitioned to food only blog which can be found @ www.girlmeetskitchen.com.

Make sure to check it out & subscribe to get the newest posts hot and fresh from the oven!

New recipe: http://girlmeetskitchen.com/2014/10/15/salted-caramel-chocolate-chip-cookies/


Wednesday, October 1, 2014

Whimsical Wednesday

As the seasons change I find myself reflecting on the road I've travelled to get to where I am at this moment. I had a memory of reading  "The Book of Qualities by J. R. Gendler". It was a fascinating book as she was able to describe qualities in a way I had never thought about before. Pleasure is one of my very favorite pages! I remember being 19 in my punk girl phase, staying up late and making T-shirts, in lowlit rooms with nag champa burning in the background. The first was one that read "cool girls listen to Bob Marley" & the second was "pleasure is wild and sweet" . It's amazing how some memories float back into our minds in moments when we need inspiration most... In which I now bring to you for Whimsical Wednesday:

Monday, August 25, 2014

Blueberry Coffee Cake Loaf

Have you taken a moment and noticed all of the wonderful summer fruits that are on sale... ? 
$2 strawberrys,blueberries heck even boysenberry ... and raspberries for $1.50...
please wake me from this dream because this aside from the holiday spice sales are what my dreams are made of!
With that being said instead of feeling as if this was a sign of summer coming to an end 
I chose to celebrate  with something warm and something blue!
I bring to you my version of Blueberry Coffee Crumb Cake 
to enjoy while watching the fleets of school buses practicing their fall routes.
Blueberry Coffee Cake Loaf
 
Ingredients 
For the streusel:
1/4 cup granulated sugar
1/3 cup light brown sugar, lightly packed
1 teaspoon ground cinnamon
1/8 teaspoon ground nutmeg
1/4 pound (1 stick) unsalted butter, melted
1 1/3 cups all-purpose flour
For the cake:
6 tablespoons unsalted butter, at room temperature (3/4 stick)
3/4 cup granulated sugar
2 extra-large eggs, at room temperature
1 teaspoon pure vanilla extract
1/2 teaspoon grated lemon zest
2/3 cup reduced fat sour cream
1 1/4 cups all-purpose flour
1 teaspoon baking powder
1/4 teaspoon baking soda
1/2 teaspoon kosher salt
1 1/2 cup fresh blueberries for cake save 1/2 c for topping
Confectioners' sugar for sprinkling
Directions
For the cake:
Preheat the oven to 350 degrees F.  
Coffee Cake Loaf :  Spray with Non Stick Cooking Spray (I used 2 Large Disposal)
Coffee Cake: Butter and flour a 9-inch round baking pan 

Step one:  Turn the oven to 350 degrees F.  Butter and flour a 9-inch round baking pan.  I made loaves and spraying them with Pam worked perfect.  

Step two: Wash your blueberries 
Streusel Crumble
Step One: Combine the granulated sugar, brown sugar, cinnamon, and nutmeg in a bowl.
Step Two Stir in the melted butter.
Add flour.
Mix well and set aside.
Kitchen Tip
An easy to to ensure your flour measures are exact is to use a flat knife, straw or chopstick to create a flat surface.
Blueberry Coffee Cake Crumble:
Step One: Cream the butter and sugar in the bowl of an electric mixer fitted with the paddle attachment on high speed for 4 to 5 minutes, until light. 
Step Two: Reduce the speed to low and add the eggs 1 at a time, then add the vanilla, lemon zest, and sour cream. 
Step Three: In a separate bowl, sift together the flour, baking powder, baking soda, and salt. With the mixer on low speed, add the flour mixture to the batter (in thirds) until just combined.  
Save at least 2-3 Tbls of Flour.


Step Four: Toss the blueberries into the remaining flour.
Step Five: Fold blueberries into batter. Save 1/2 cup for topping (Trust me it's worth it)

If you're using a loaf pan, fill 2/3 's to allow space for the crumbly goodness. If you're using a pan, pour evenly across pan. To eliminate extra air, tap the bottom of the pan against the counter lightly.

Step 6: Crumble the topping evenly over the batter. Making sure no batter is showing


Step 7: Bake for 40 to 50 minutes, until a cake tester comes out clean. Cool completely and serve sprinkled with confectioners' sugar.

Enjoy!
P.S it's even better the next day after a night cooling in the fridge:) 
Until next time!

Fresh Summer Quinoa

With the end of summer nearing, I've had my mind set on making a delish light summer dish using the absolutely gorgeous and tasty summer veggie selection that's available. There's nothing like biting into a fresh piece of corn that was picked that morning or slicing into a tomato you picked from your garden. So yes, there are a few moments of summer that cannot be recreated; however, we can all take a moment to enjoy the last days of summer...


Call me crazy, but at this very moment I'd like you to grab a large rimmed baking sheet and place it in your freezer, if there's no room your fridge will be just fine (trust me on this, I'll tell you more later) 

I'll admit, I'm very new to the Quinoa game, but I've discovered there are so many ways to use this wonderful protein filled grain!! You can use it for savory or sweet dishes (which I'm looking forward to trying.)  Plus this is such a perfect meal that you can make ahead for a few days.

This is my spin on my favorite classic tabbouleh/ tabbouli with a dash of inspiration from my  co-op's version, oh and oddly enough a mix of my favortite pizza toppings (feta, spinach and red onion)

Ingredients:
1 cup quinoa, rinsed well
1/2 -1 cup chopped spinach ( I reduced the amount of herbs to add spinach, but if you're opting out of using spinach increase the parsley to 2/3 cup)
1/3 cup chopped flat-leaf parsley
1/2 cup chopped fresh mint
1/2 cup extra-virgin olive oil
1 large Cucumber, diced
1 Large Tomatoes, diced
2/3 cup chopped flat-leaf parsley
1/2 cup chopped fresh mint
2 scallions, thinly sliced
3/4 C. Feta Cheese 

Dressing:
1 Tablespoon, minced
2 Tablespoon fresh lemon juice
1/4 - 1/2 cup extra-virgin olive oil
1/2 teaspoon Kosher Sea Salt 
1/2 teapsoon Freshly ground black pepper

Step One:
The first thing you need to do is WASH your quinoa, this will take the overall quality and flavor from dab to fab! 


I provided a few pics below so you can tell the difference.


This was after several rinses, can you see how clear the water is now!!
Step Two: 
Cook your Quinoa adding in 1/4 t of salt. This really comes down to preference and which brand you're using. Typically it's 2 Cups water to 1 Cup quinoa, however I felt like the 2:1 ratio was a little too watery so using 1 3/4 or 1 1/2 will be fine. If you'd like to infuse the quinoa you can use any type of broth or stalk, but i'd still add at leas a 1/2 cup of water. 

Once all of the water has been absorbed ( 10-15 mins, take it off the heat, allow to cool for 5 mins and fluff with fork.
 

Wait! What about that chilled pan in the freezer? My friend, take it out and spread the cooling quinoa out, pop into the cooling appliance of choice (freezer/fridge 10-15 mins) and it's onto veggies!


Step Three: Meanwhile, whisk lemon juice and garlic in a small bowl. Gradually whisk in olive oil. Season dressing to taste with salt and pepper. Set aside or if your preparing this for the night before, put into the fridge.


Step Four: Dice your veggies, at this part the world is your oyster, you can cut as large or small as you like!
A few kitchen tips:
When cutting the mint or really any herb with leaves, you can pull them off the vine and slice roll jelly roll style. You can also, use scissors to chop the washed scallions.


Tip #2: Juicing made easier
If you like going old school and don't feel like taking out the juicer or like myself have yet to purchase a hand held lemon squeezer you can use a fork. First wash your lemon and with the palm of your hand roll the lemon against a counter, this will help "loosen" the juice which will make for a happy lemon! Slice and while holding the lemon take a fork with the opposite hand, turn the fork and gently squeeze!


Step Five:                            Take the quinoa out and place into a large bowl


Toss your veggies into the quinoa


As you're tossing in the veggies slowly drizzle the dressing into the salad. If you're making this a day ahead, you can store the dressing for up to 24 hours in the fridge.


The recipe called for 1/2 cup of Olive Oil, but for my personal preference it seemed like alot so I used about 1/4 c. But add as little or as much as you'd like.


Enjoy! 


Sunday, August 10, 2014

Picnic Perfect Chicken Salad Ciabatta Sandwiches

When summer first started, one of my missions was to take V on a summer picnic. The weeknights can get really busy and when we first met we used to have "Monday Fundays down by the Mississippi. I've always loved taking breaks on Mondays because often the hustle and bustle of the weekend, makes me want one more day to relax.. if you have errands to run, Mondays are the best, no lines, the sales ads have been updated and everyone else is working!! 

I'm the type of girl who loves "themed" events, whether it's a fiesta, girls spa night, flower garden party, i love really love getting creative to enhance the moment. So in planning our picnic, I wanted to go outside of the normal cold cut sandwiches and make something that was very summery and filling... which lead me to making tarragon chicken salad sandwiches, which were perfect to take on the GO!


 The recipe itself was super easy, I ended up taking a few shortcuts to make it a little easier i.e; instead of cooking the chicken myself I bought a roisterrie chicken, since it's a cold salad I was able to keep it cool overnight and shred it up right before it was time to prep:)


Ingredients:
2-3 Boneless skinless chicken breast OR a Rotisserie Chicken (Which was my time saver)
3 stalks of finely chopped celery
1/2 cups mayo or miracle whip plus a little extra to spread on top of your bread.
1/4 cup finely chopped red or white onion
2-3 tablespoons of tarragon ( about 3_4 herb vines
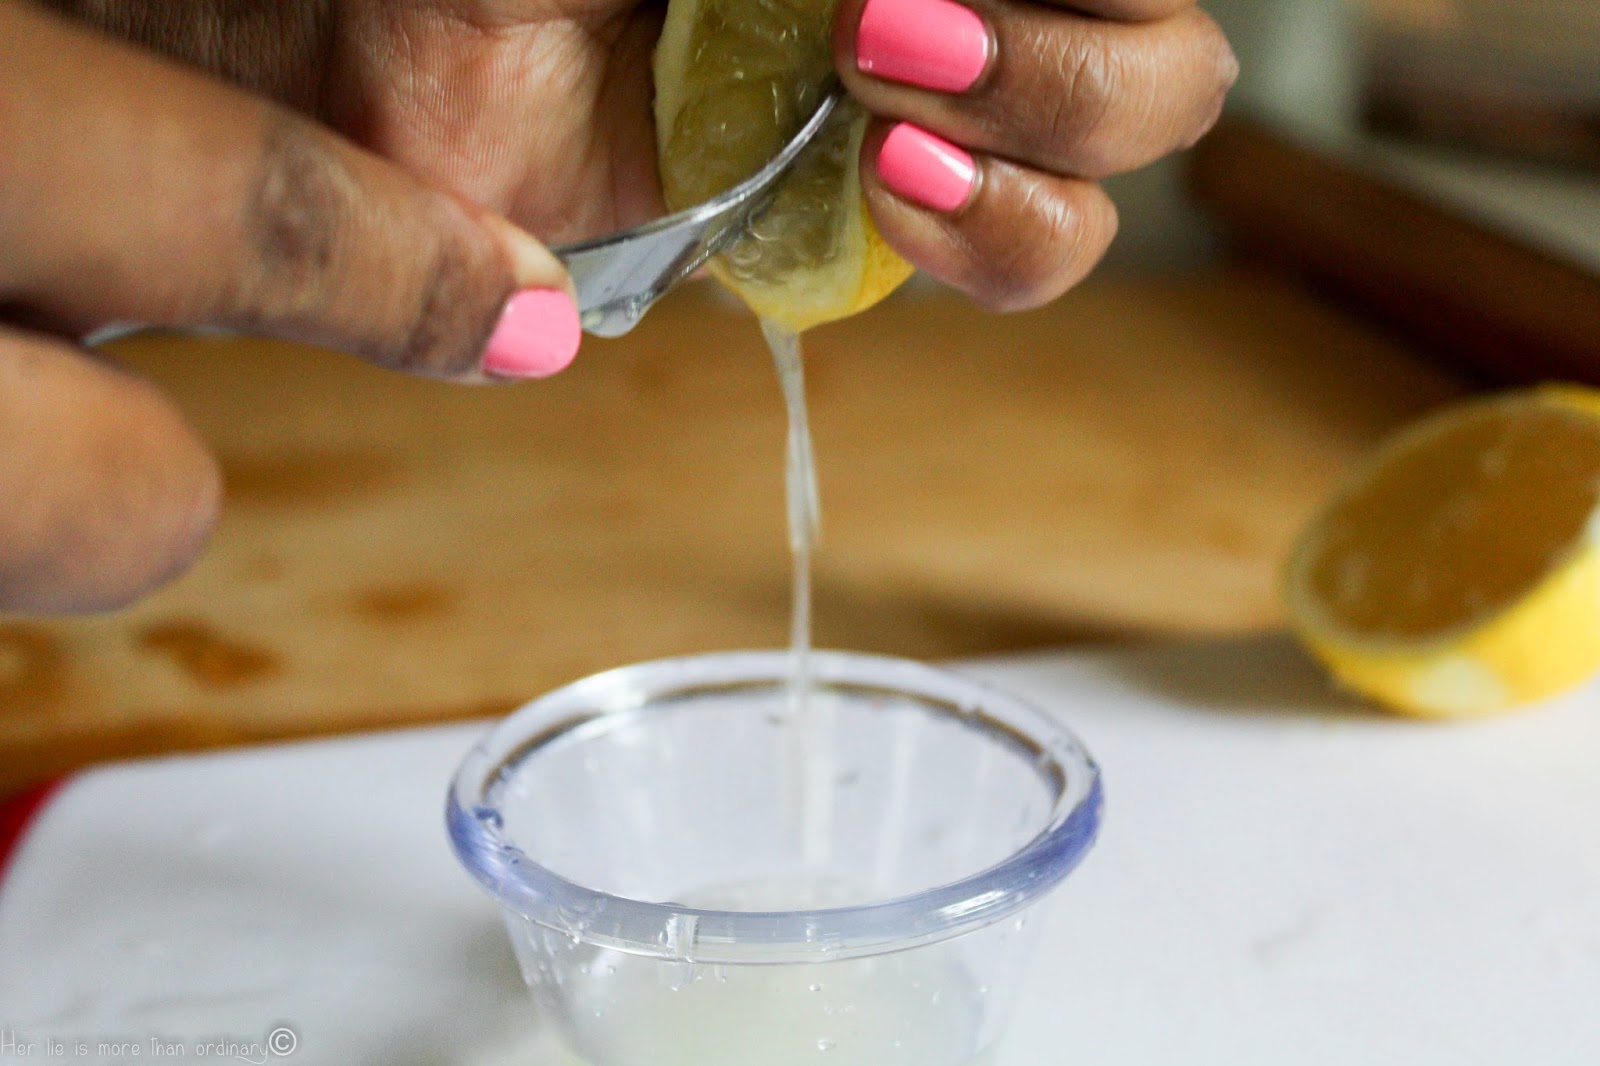
1 whole lemon or 2 tablespoons of lemon juice
1 teaspoon fresh lemon zest or lemon pepper seasoning
Ciabatta Bread

*Note: Depending on what kind of bread you are making this with, you may need to toss it into the oven to brown and bake. In my case, the ciabatta needed to bake for 5-8 minutes... since this was soo quick to toss together after I prepped everything I got the bread in the oven right away in order to allow time to bake and then cool down before adding the chicken salad.


To get started on your prep, I wanted to include a few kitchen  tips or "hacks"to simplify some of the tough steps.
"Onion Tears No More"
 

 First cut your onion in half, it really doesn't matter which direction as long as it has a flat side like the below. Starting at the bottom slice across the onion like it's a piece of bread... BUT make sure you DON'T slice through it.

 After you've made the first slices, your onion should look like the above 2nd photo.


Now that you've sliced your onion horiziontally, you can slice the onion straight down  & through but don't slice all the way across. You'll want the onion to be sliced but still kept together.

You're almost there!! The last step is to slice in the opposite direction from the 2nd slice, this will automatically dice your onions, from here you can continue chopping if you're pieces are still a little big. 
*Always keep in mind when you're cooking for a crowd or picky palates that not everyone likes the full pieces of onion (my lady is one of them) so often I will get close to petite dicing or minicing my onions so the flavor is there but the texture is subtle. Also, remember you already have some chopped celery in here, so that will counter balance the texture of the onion and really wouldn't you rather bite into a tasty piece of celery over a bitter onion?


Fast Herbing

When dicing/mincing fresh herbs like tarragon, rosemary,parsley, cilantro to save a little time do the following steps!

 Grab your herbs, slighty twist them ( if long enough) and then fold them into a lower case "n" shape

While holding them together gentle, begin dicing!

 Ta Da!! You're finished and have twice as many herbs in less time!


Make sure you save the zest!


Chicken Salad Sandwiches

Step 1: In a medium bowl add the celery,tarragon, lemon juice, zest, onion and mayo.


Step 2: Mix.


Step 3: Take the shredded chicken and toss it into the wet mixture, gently folding so the chicken and the sauce become the very best of friends!


 Step 4: Slice bread.


 Step 5: add as much or little chicken salad to your bread and you're done! If you're taking these to go now is a perfect time to wrap them set in the fridge and take them out when you need them.
This can be made overnight as well, tastes just as yummy the next day!


Hope your lunch will be as great as ours!